0 Comments
Have you ever made your own quick pickled onions? These are delicious and compliment so many meals! They're great on Taco's, they're perfect on a charcuterie board or to have with Raclette. They're a wonderful topper for your grilled steak, poached fish, and even your pizza! Try them for yourself to add a little extra flavour to your routine! 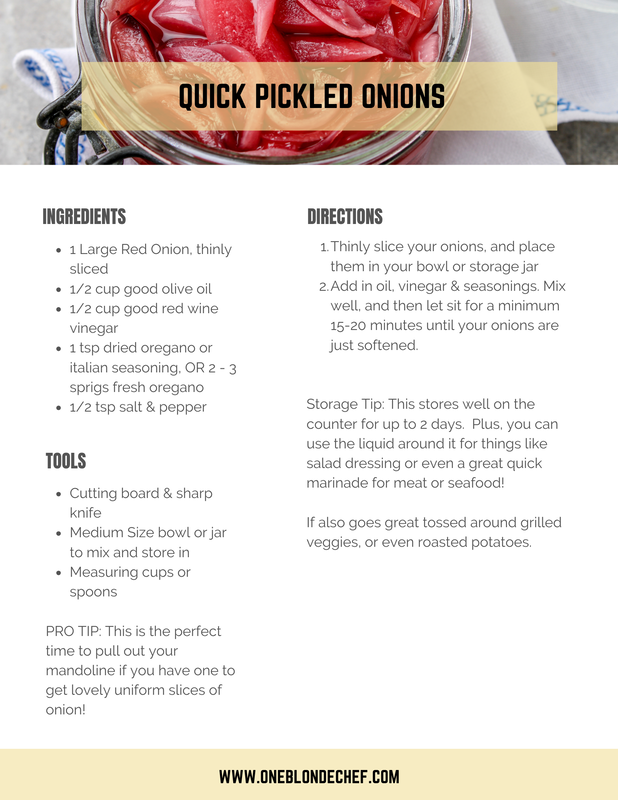
Directions: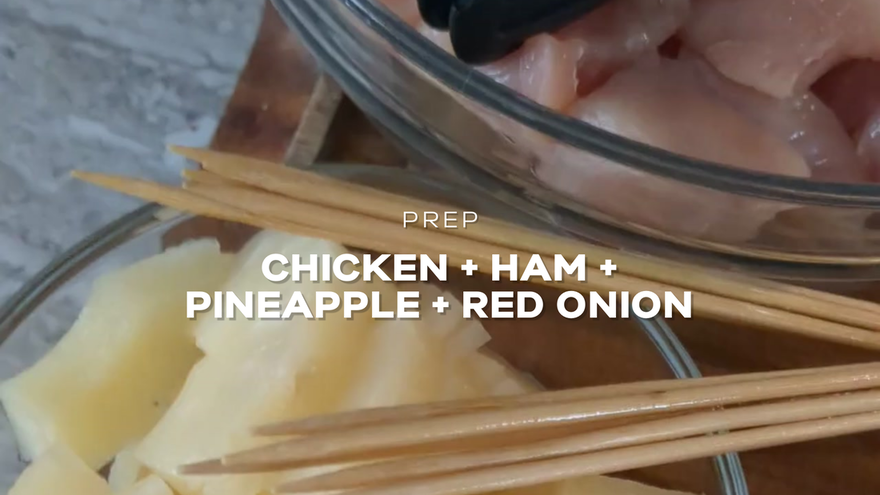 Step 1: Cut up all the ingredients into similar sized pieces. The goal is to build a skewer that will have all the pieces get some contact with the heat while allowing all the elements to cook at the same time. For the ham, take 1 piece and cut it in half, then roll and fold it up to be a little ham package that's about the same size as the other piece (image below) 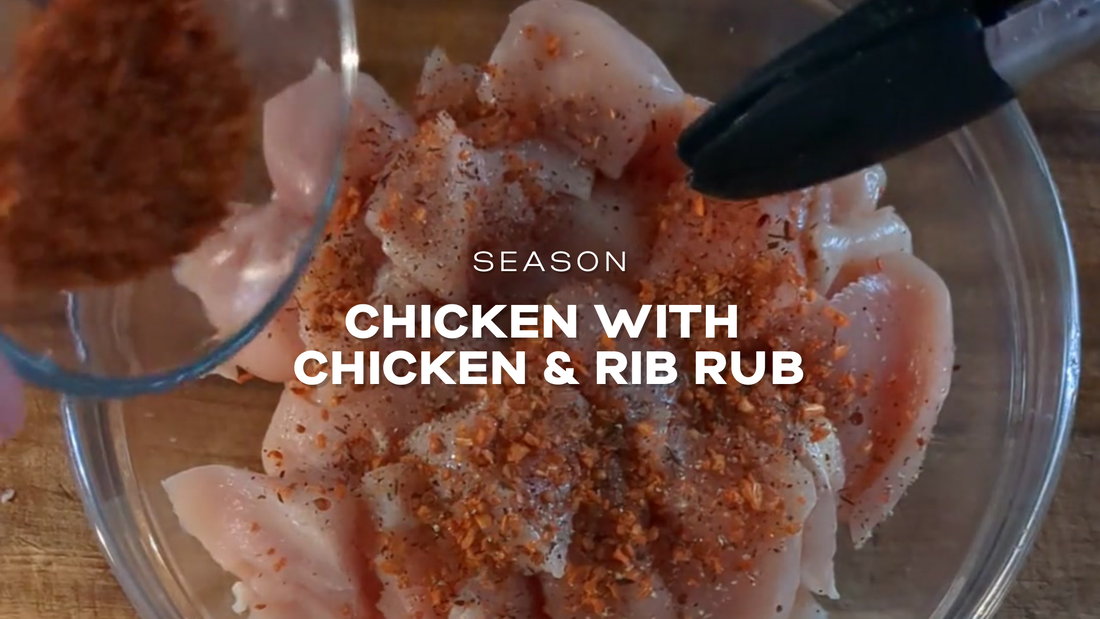 Step 2: Season your chicken with some rub. I used a chicken and rib rub, but you can truly use whatever you'd like! Something like the Garlic & Herb Pampered Chef rub or. even the Smoky Applewood BBQ Rub would be delicious!  Step 3: Build each skewer alternating ingredients! I enjoyed starting most of the skewers with a Pineapple to be the base piece, and then added the other ingredients accordingly! 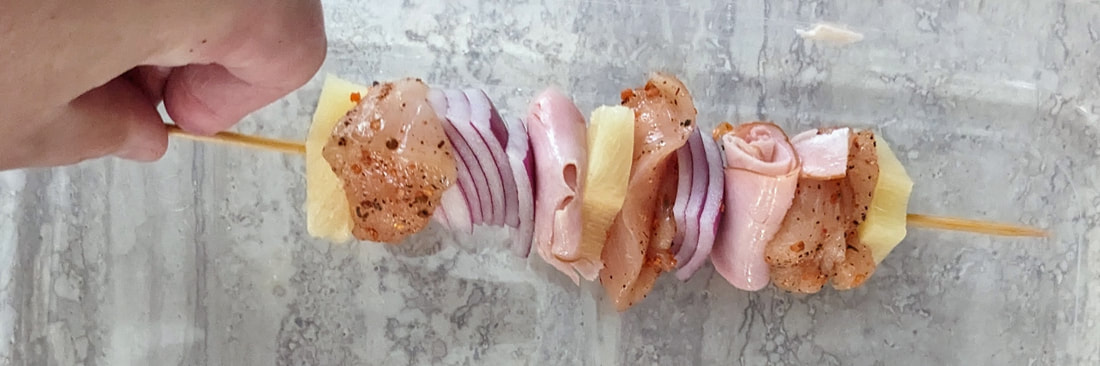 Step 4: BBQ these beauties over medium-low heat so they have time to cook through and get lovely and roasted. When they are about 2 - 3 minutes away from being done, use a silicone basting brush to add some of your favourite sweet & smoky BBQ sauce. Once the sauce has just started to caramelize, you'll know there are ready to go!  These are great right off the BBQ and onto a plate, or you can serve them up with a fresh sprinkle or lemon or lime juice on top and even some fresh parsley for a little colour!
I hope you're a fan of this recipe as much as we were! Savour Your Experience, and "Let's Go Buffalo" #GoBillsGo!
 A big thank you to Joel, and his family, for welcoming me in and enjoying the food I prepared for them that night! And, thanks so much for asking for the recipe! I hope you all can make this to enjoy among company, friends & family again! Cheers!
Knowing how to work your budget, without sacrificing flavour or ingredients, is key to success in the kitchen! Check out this Top 5 list that highlights a few luxurious dishes that will WOW your tastebuds without breaking the bank! 1. Chicky-Chicky Parm-Parm
2. Red Thai Curry Coconut Soup This soup is CRAVEABLE and it's something that you can make time and time again when you have the ingredients ready to go! The base flavour of the soup is red thai curry paste and coconut milk. The paste comes in a little jar, that's easily refrigerated and typically good for at least a few months. The coconut milk can be bought and stored in your pantry so it's ready to go! And, you can switch up whether you use noodles or rice - it's truly whatever you're in the mood for that day! This version is something we do for lunch often, and truly doesn't focus on a protein. I love to make this when I do have leftover chicken, shrimp that I need to use up, or even a boiled egg. And, the garnishes are totally up to you! Cilantro, lime and green onion is ideal! If you want to grab some fresh sprouts you can - otherwise keeping it simple doesn't mean you're missing out on much with the flavour-packed bowl! 
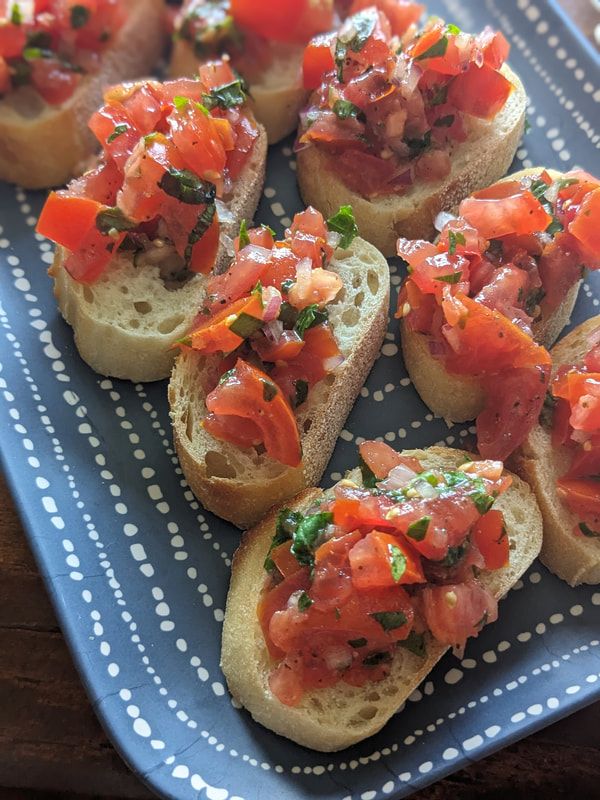
OBC TIP: If you can, try to use pre-cooked rice, otherwise the rice soaks up all that broth so you'll either have to account for that when cooking (aka. add extra broth) or plan ahead to ensure your rice is ready to go! I don't find the same things happens with rice noodles but you could also soak those in some hot water before adding into the soup! 3. ShakshukaShakshuka is a dish that most people will tell you makes a fabulous brunch dish - I also happen to think this is a great way to do "breakfast for dinner" too! This one-pan dish features peppers & zucchini for a little personality and crunch, and it can be finished with some fresh herbs and feta to really take it over the top. It's also perfect served with last-nights baguette as the sauce will bring the crusty bread back to life! 
4. Half & Half Turkey Mushroom Tacos
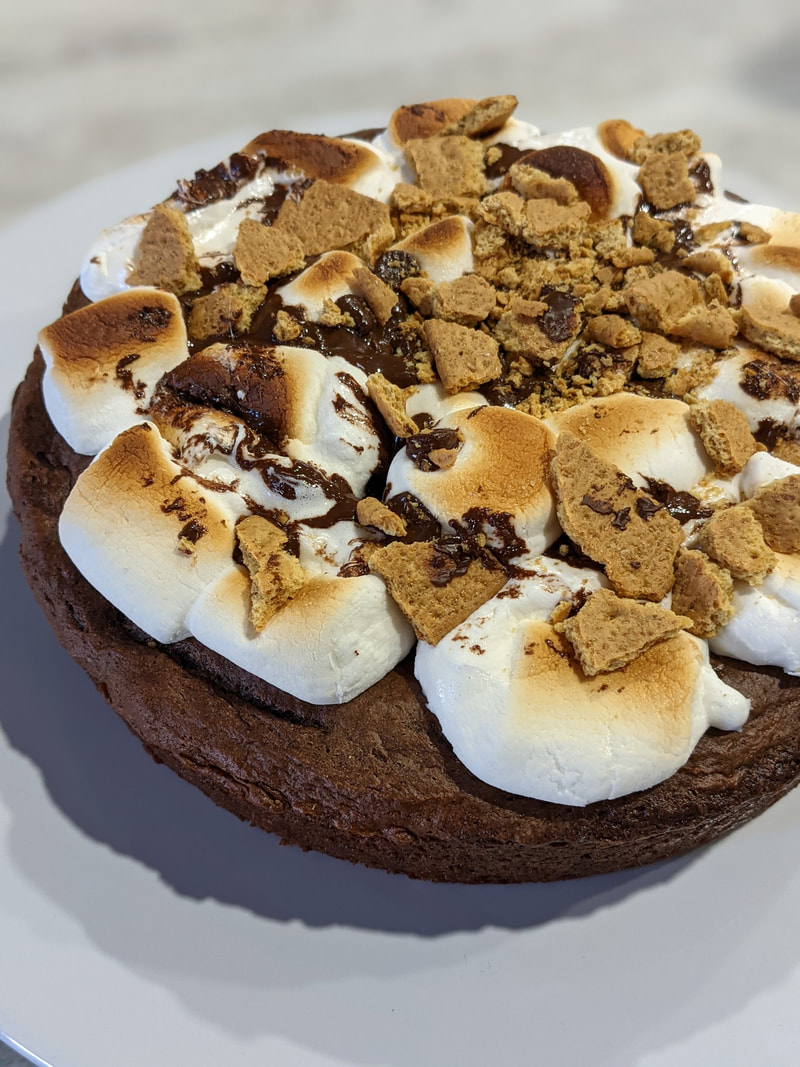
5. Summer S'more CakeThere's something about summer that screams - I LOVE ROASTED MARSHMALLOWS! So, to round out this list I thought we'd do something summery, chocolatey and ooey-gooey-good!
Directions:
Thank You So Much for reading this far! And, for your daily votes! Cheers! Your Favorite Chef, GillianTo say thanks for all of your support and voting, and to kick off this weekend, I wanted to share my Lime Margarita Recipe with you! This is slightly sweet, slightly sour, and it packs a punch (when you use good tequila of course!) "Just remember...equal parts sweet & sour, |


Per Cocktail, You'll Need: | Directions: |
|
|
To make a simple syrup - it's as easy as combining equal parts white sugar and water together and bringing it to a gentle heat. For me that's typically 1 cup sugar + 1 cup water, and then I microwave it for 2-minutes total, stirring every 30-seconds. And, to really add a little 'zest' (pun-intended) I peel an orange and add the zest to the liquid to infuse!
These Air Fryer Bagels come together in a matter of 5-minutes, and are such a yummy way to start the day!
Combine 5 simple ingredients, form the dough into the bagels, top with the seasoning of your choice (I've used my favorite homemade Everything Seasoning) and then bake until fluffy and golden brown.
Combine 5 simple ingredients, form the dough into the bagels, top with the seasoning of your choice (I've used my favorite homemade Everything Seasoning) and then bake until fluffy and golden brown.
YOU'LL NEED:For the Bagels:
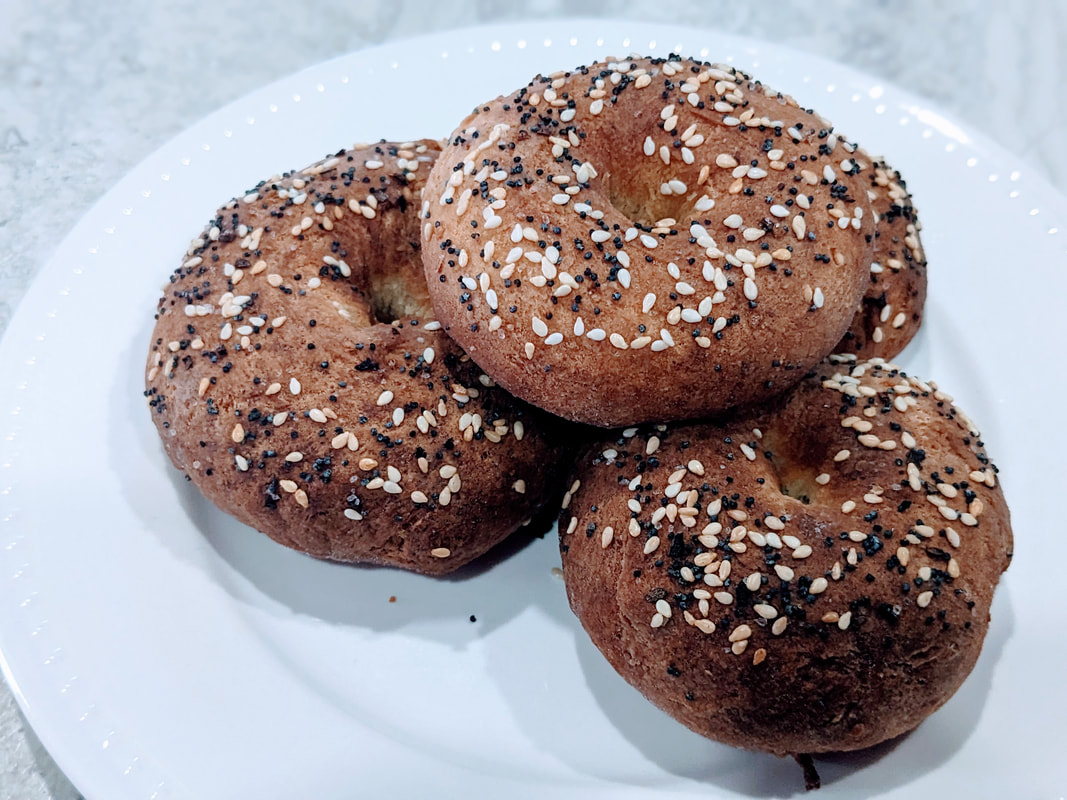 | DIRECTIONS:1. Make the Dough Mix the flour, baking powder, baking soda & salt together. Mix and then incorporate your yogurt. 2. Knead for 5-minutes Knead dough for about 5-minutes, adding additional flour if needed to form a ball. 3. Shape the Bagels Portion the dough into 5 or 6 pieces. Roll each into a ball, and then using your finger poke a hole through the middle. Use the board to shape each bagel. 4. Add the Topper Using either an egg wash, or just a little bit of oil, brush the top of each bagel. Then, add some of your favorite topping such as this Homemade Everything Seasoning! 5. Bake & Enjoy! Pop them into your Air Fryer (or oven) and bake for about 8 - 12 minutes depending on the size of your bagels! Let cool slightly, and enjoy! |
And, while you're here... get ready for a shameless plug...
Can I count on your VOTE?

From June 12 - 22, 2023 I'm working HARD to earn your votes for the Favorite Chef Competition.
This is a wonderful opportunity with an opportunity to work with Carla Hall, win $25,000, and have a two-page spread in Taste of Home Magazine! Thanks for the support - and remember you can vote for FREE every 24-Hours!
Savour Your Experience!
This is a wonderful opportunity with an opportunity to work with Carla Hall, win $25,000, and have a two-page spread in Taste of Home Magazine! Thanks for the support - and remember you can vote for FREE every 24-Hours!
Savour Your Experience!
Leftover citrus is a star when it comes to cleaning your wooden cutting boards! Use the rind to rub in either baking powder or salt in a circular motion for a great way to give your board a glow up!
|
You'll need:
|
Directions:
OBC TIP: For best care practices a board oil could be applied after to give your board both protection & shine! |
As many of you may know already, one of my favourite marinades to make is a combination of Teriyaki sauce & stout beer!
So, the last time I went to make it and realized I was out of Teriyaki Sauce. I'd make the recipe once before, so I had the basic combination of what goes into the sauce, then - like everything else, I made it my own.
And now, I will never to go back to store bought - especially to use for this marinade.
The fresh pieces of ginger and garlic throughout gave it so much flavour. I was able to undercut the typically ratio of sugar to indulge my saltier palette, and was able to add extra umami with sesame oil & fish sauce that really turned up the depth of flavour!
|
|
I truly feel like this is a 'must-try' recipe for all of you now!
|
Easy Teriyaki Sauce
|
INGREDIENTS:
For the sauce:
For the cornstarch slurry:
|
DIRECTIONS:
|
OBC Tip!
If you're using this is as a marinade you could consider using less of the slurry or omitting it completely because the flavours are there! However, if you're using this as a dipping sauce, stir fry sauce or oven as a basting sauce, you'll definitely want to thicken it up. If desired, you could also use a fine-mesh strainer to remove the pieces of fresh ginger & garlic and to smooth out your sauce.
And, for the Marinade Recipe...
This is dead-easy and perfect on everything from Chicken Wings to Flank Steak (actually flank steak is our absolute favourite with this one!)
All you have to do is combine 1 recipe of Teriyaki Sauce with a Tall Can of Stout beer - such as Guinness. Add in your chicken, beef or even seafood and let marinate for a minimum of 4 hours - but we typically try to use this for a long marinade upto 48-hours for best results! |

|
So there you have it! Homemade Teriyaki sauce, with a fun little recipe video alongside! Stay tuned as you'll likely see this recipe hitting my Winter & Summer Virtual Workshop offerings!
And, as always if you find yourself making this delicious dish - tag me @oneblondechef so I can join in your culinary journey!
Savour Your Experience!
Cheers!
And, as always if you find yourself making this delicious dish - tag me @oneblondechef so I can join in your culinary journey!
Savour Your Experience!
Cheers!

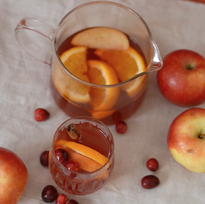
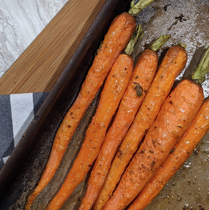
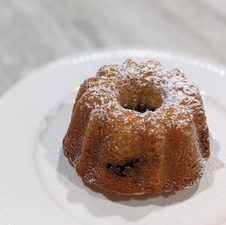
Happy Canadian Thanksgiving! This long weekend is typically a time when Canadians indulge in some of the finest fare Fall has to offer.
Check out three recipes below that are a perfect addition to any traditional table. They each only take a few ingredients, are easy to assemble, and are a great way to make your house smell like the holidays!
Check out three recipes below that are a perfect addition to any traditional table. They each only take a few ingredients, are easy to assemble, and are a great way to make your house smell like the holidays!
From my family to yours - stay safe and have a very Happy Thanksgiving!
Cheers, Gillian (aka. One Blonde Chef)
Cheers, Gillian (aka. One Blonde Chef)
